
Few places on Earth are as photogenic as Sossusvlei: towering red dunes, razor-sharp ridges, and the black, centuries-old trees of Deadvlei against a white clay pan. Getting the shot, though, takes good timing. This Sossusvlei photography guide covers the best light, where to stand, camera settings and how to protect your gear from sand and heat.
Photography at a glance
- Best light: the first two hours after sunrise and the last before sunset
- Must-shoot: Dune 45, Deadvlei, Big Daddy and the dune ridges
- Lenses: a wide-angle and a telephoto zoom
- Biggest risk: fine sand in your camera
- Plan: two nights, for one sunrise in the dunes and one for Deadvlei
When to shoot: light is everything
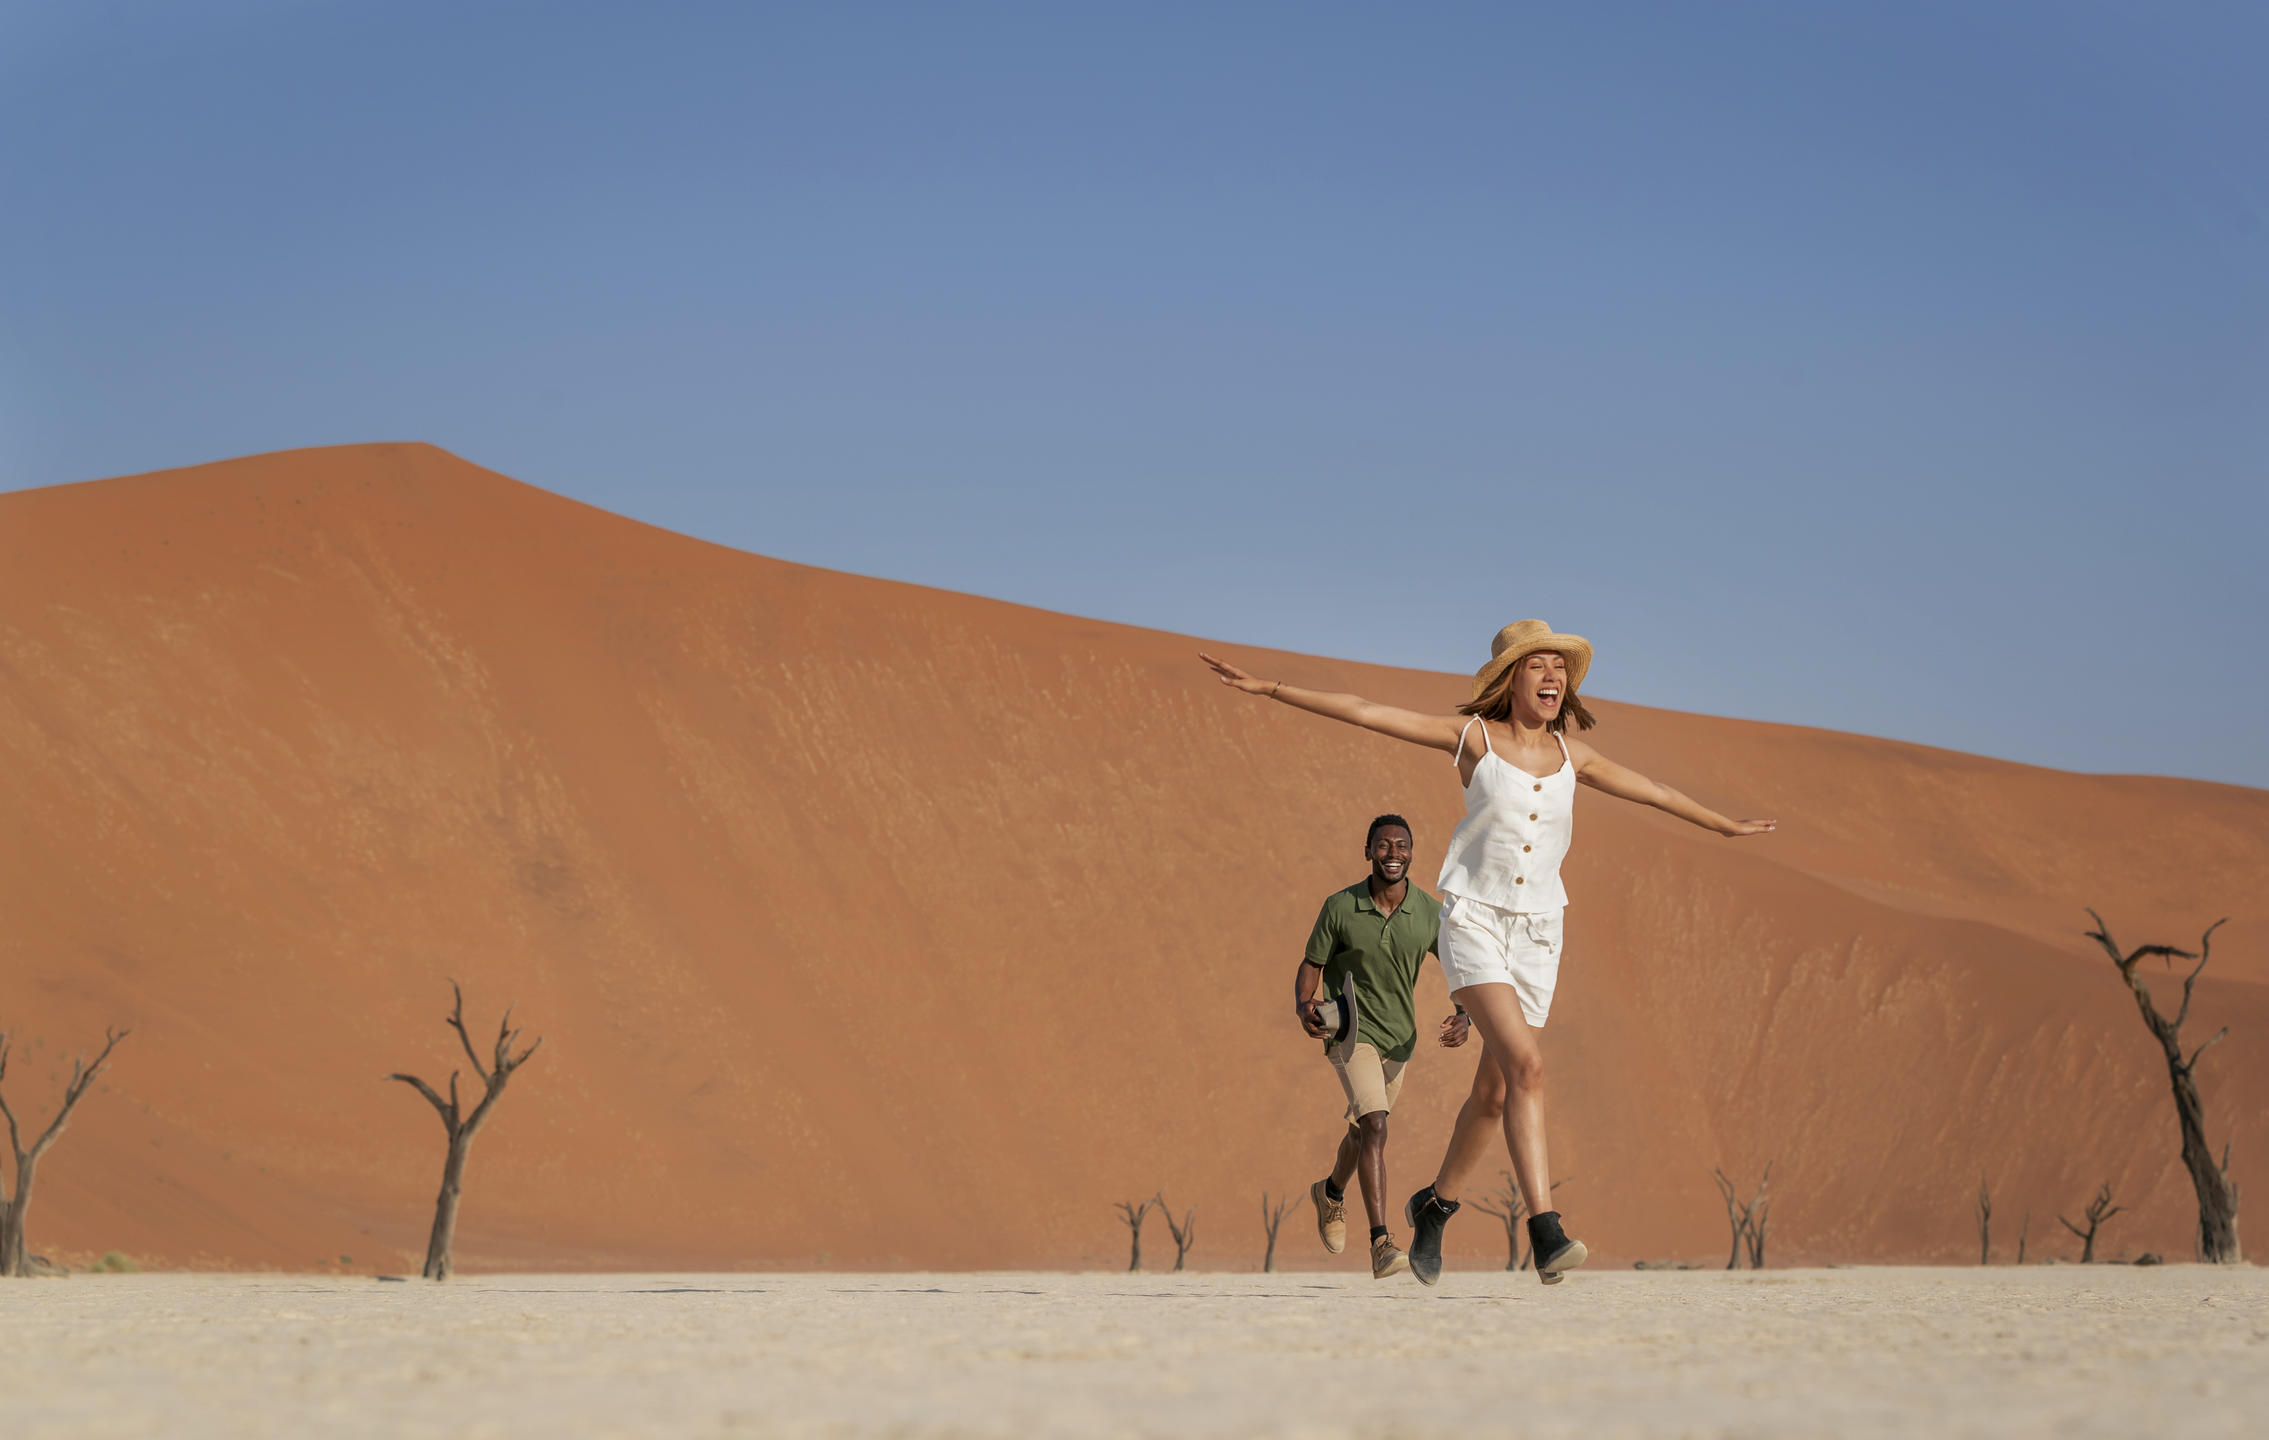
At Sossusvlei, light changes everything. In the first hour after sunrise, low sun lights one side of each dune while the other stays in deep shadow, creating the famous sharp contrast of red and black. By late morning, the light flattens and the colours fade. Late afternoon brings the contrast back, softer and warmer.
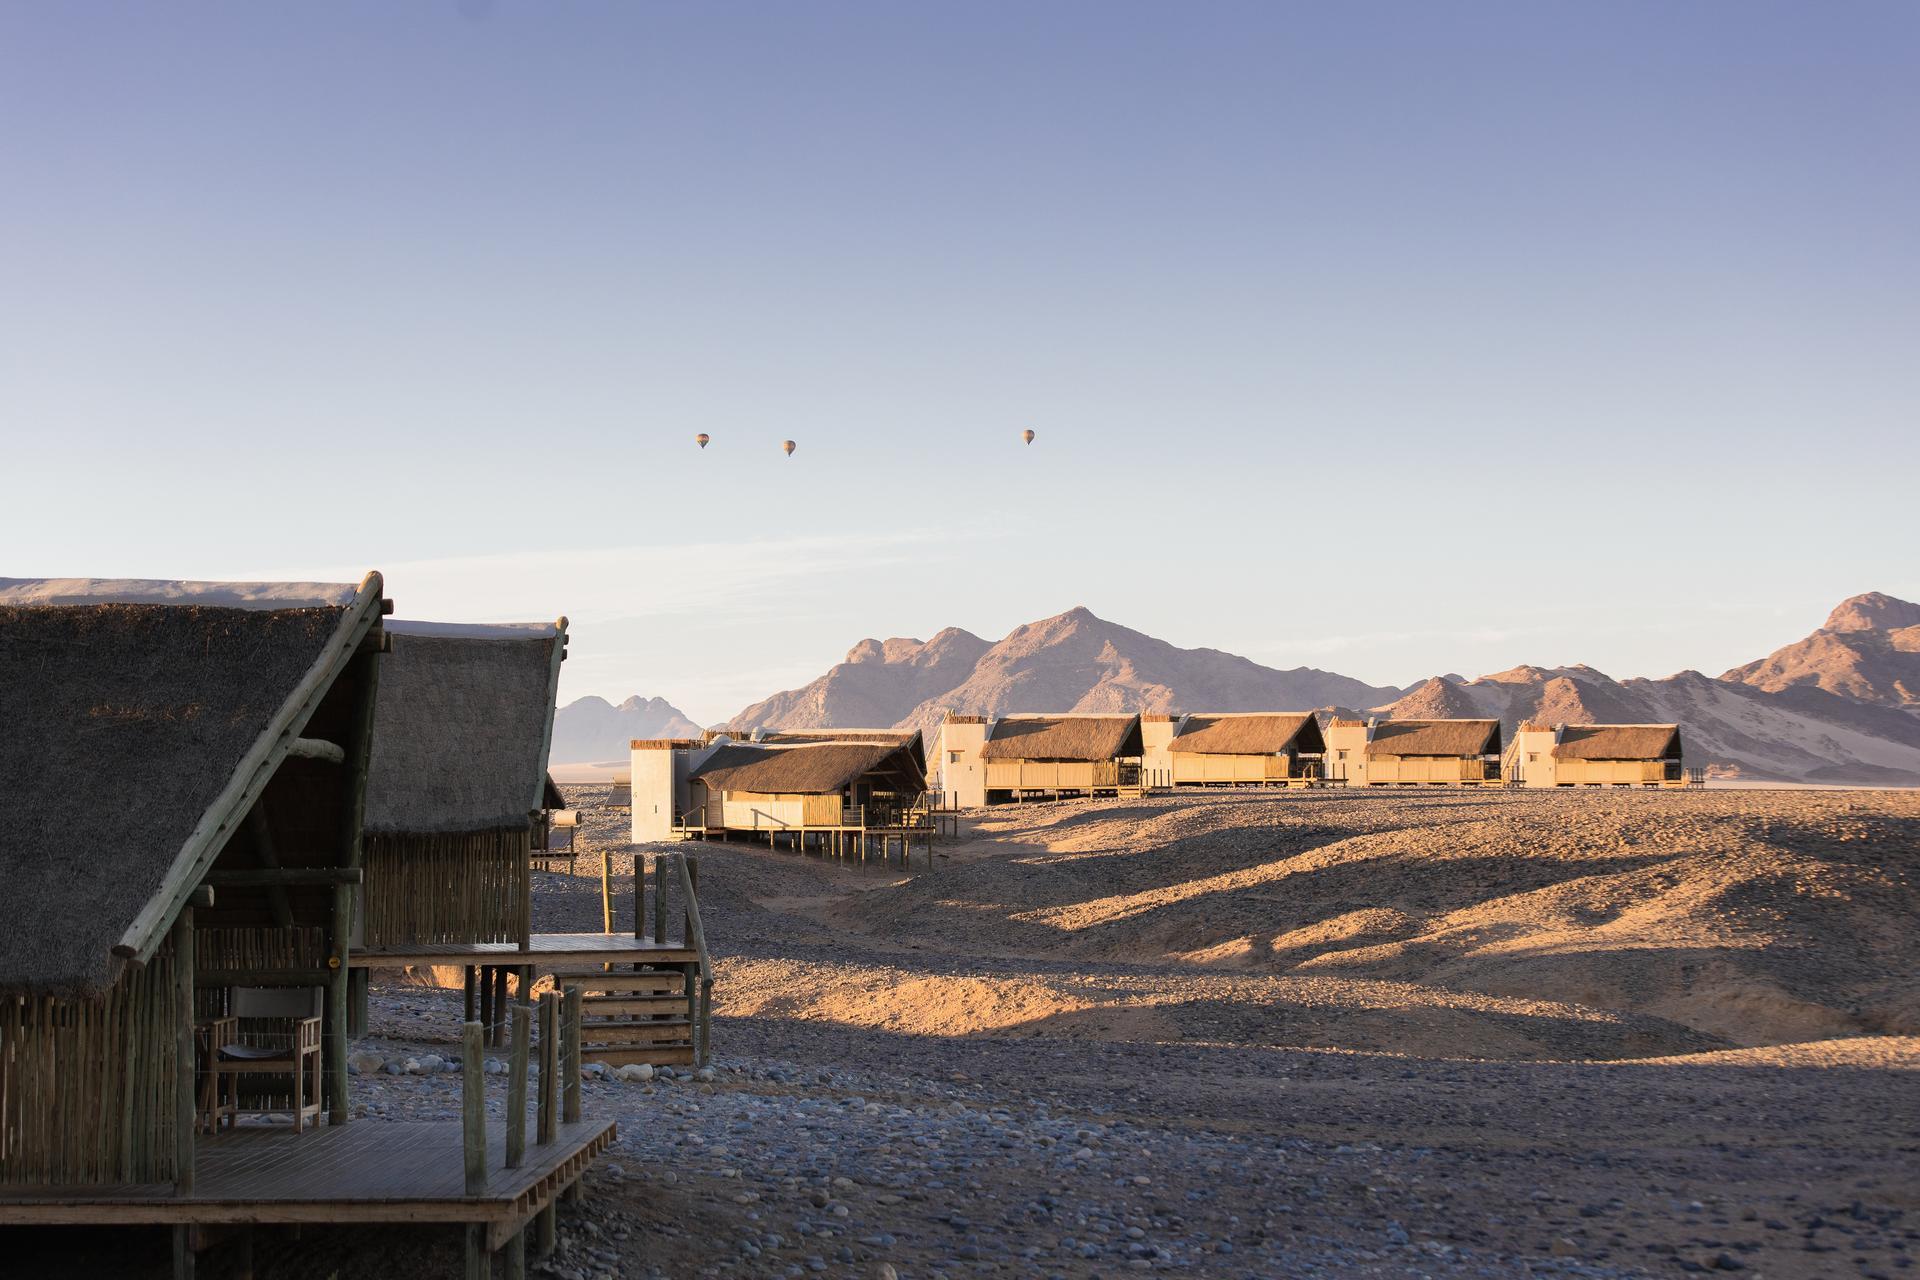
Because the gate opens around sunrise, the earliest light is easiest if you stay inside the park gate or at a lodge with private access. Read our Sossusvlei and Deadvlei guide for gate times and access.
Where to shoot
Deadvlei
The classic shot
The best-known image of Namibia: dead camelthorn trees in the white pan, with a sunlit red dune behind. Arrive in the first couple of hours after sunrise, when the dune behind the pan is lit but the pan is still in shade, so the trees stand out sharply.
Dune 45
Sunrise silhouettes
Climb the ridge before sunrise and photograph the line of climbers, or stay at the bottom to shoot the curving ridge as it lights up.
Big Daddy
Scale and drama
From the top, look down onto Deadvlei to show its scale. On the way, people walking the ridge make great subjects to show how huge the dunes are.
Dune ridges
Abstract patterns
Use a telephoto lens to pick out curves, shadows and wind-sculpted lines. These abstract images often become the favourites.
From the air
Balloon and scenic flights
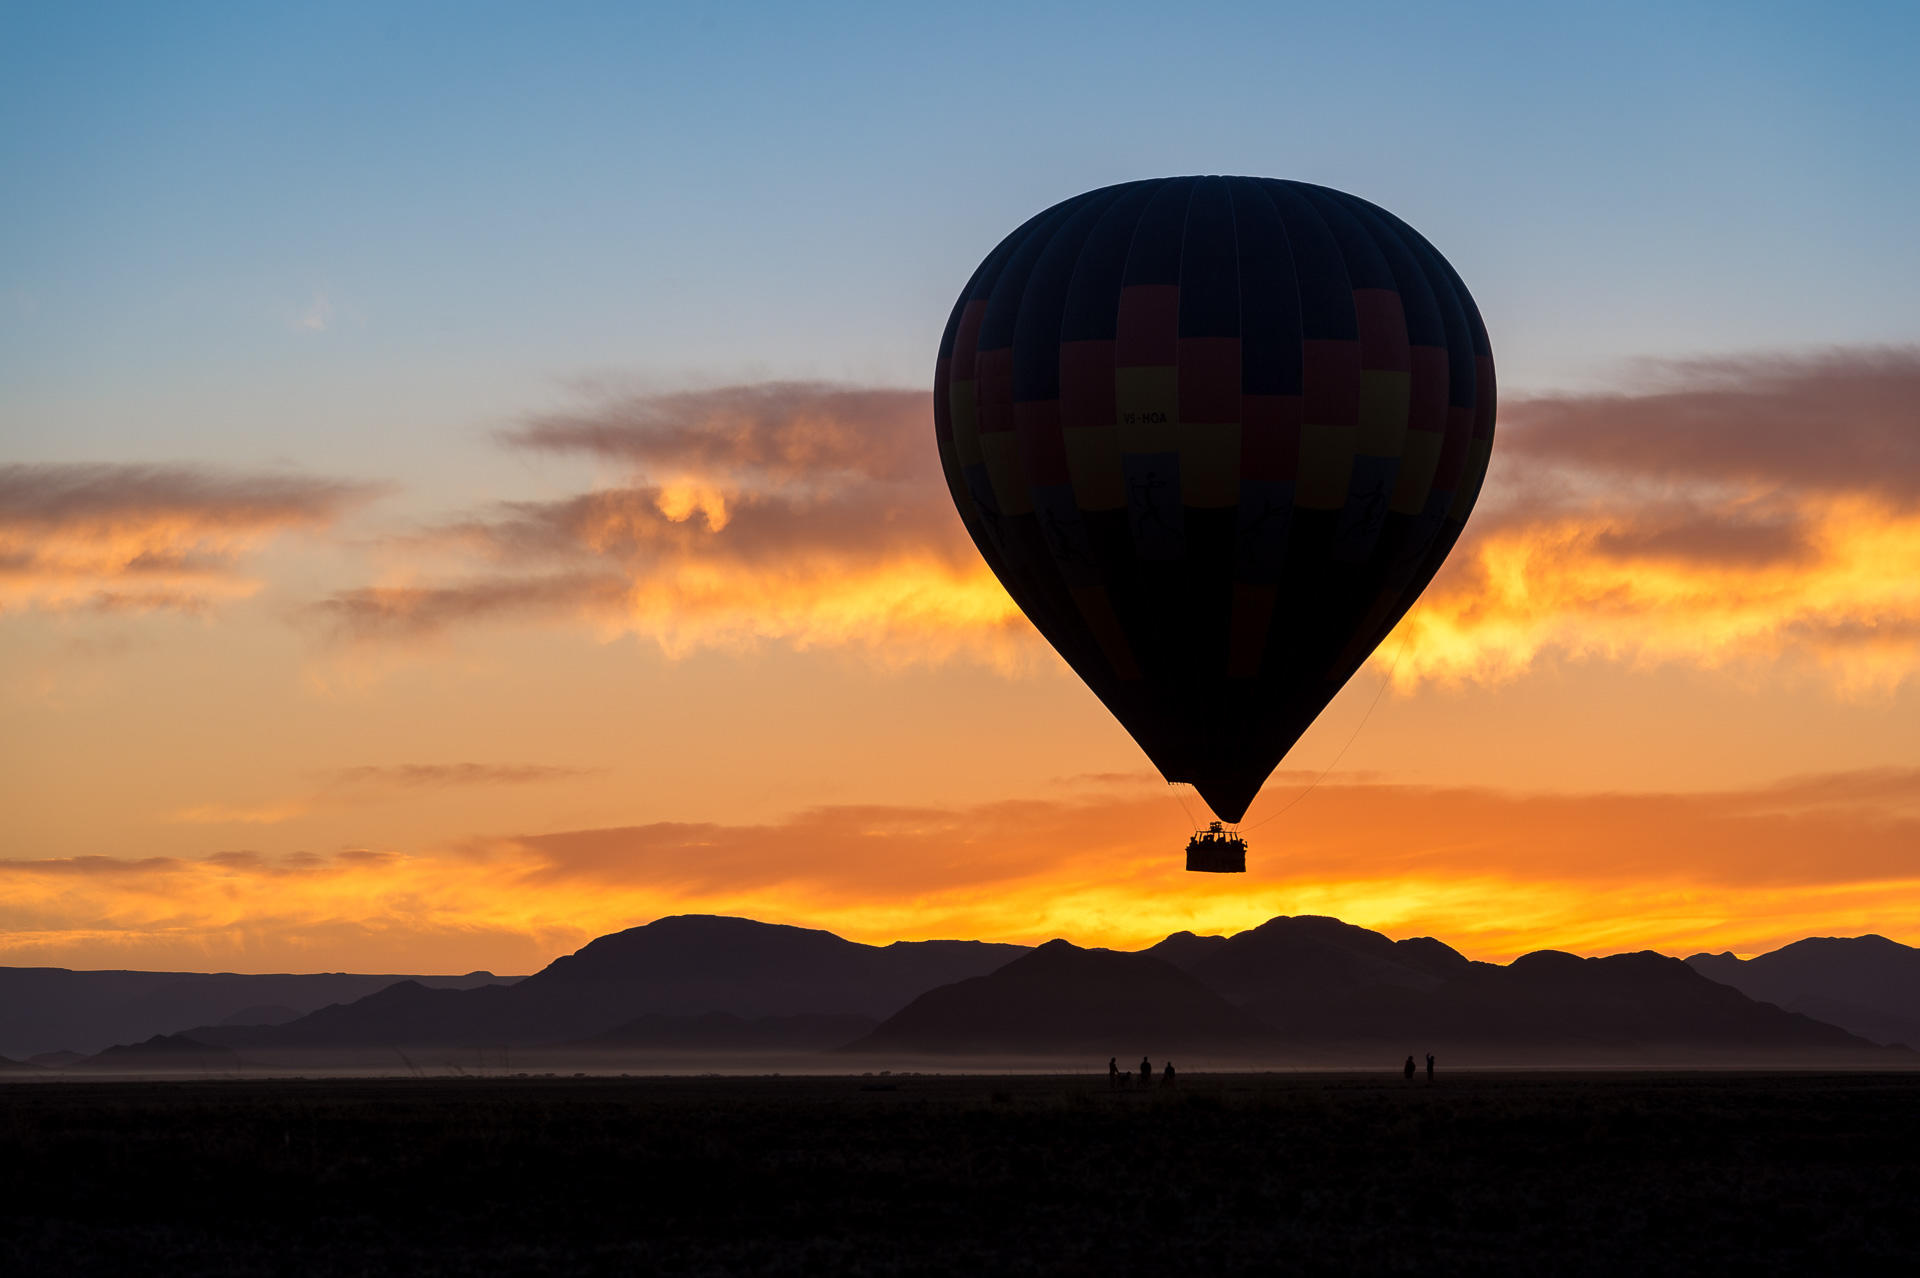
A sunrise balloon or a scenic flight shows the dune sea from above, with shadows stretching across the sand.
Camera settings and gear
| Situation | Try this |
|---|---|
| Deadvlei trees | f/8–f/11, low ISO, expose for the bright dune so shadows stay black |
| Dune ridges | Telephoto (70–200 mm or more), f/8, look for leading lines |
| Wide landscapes | Wide-angle (16–35 mm), include people for scale |
| Deep blue skies | A polarising filter makes the sky richer against red sand |
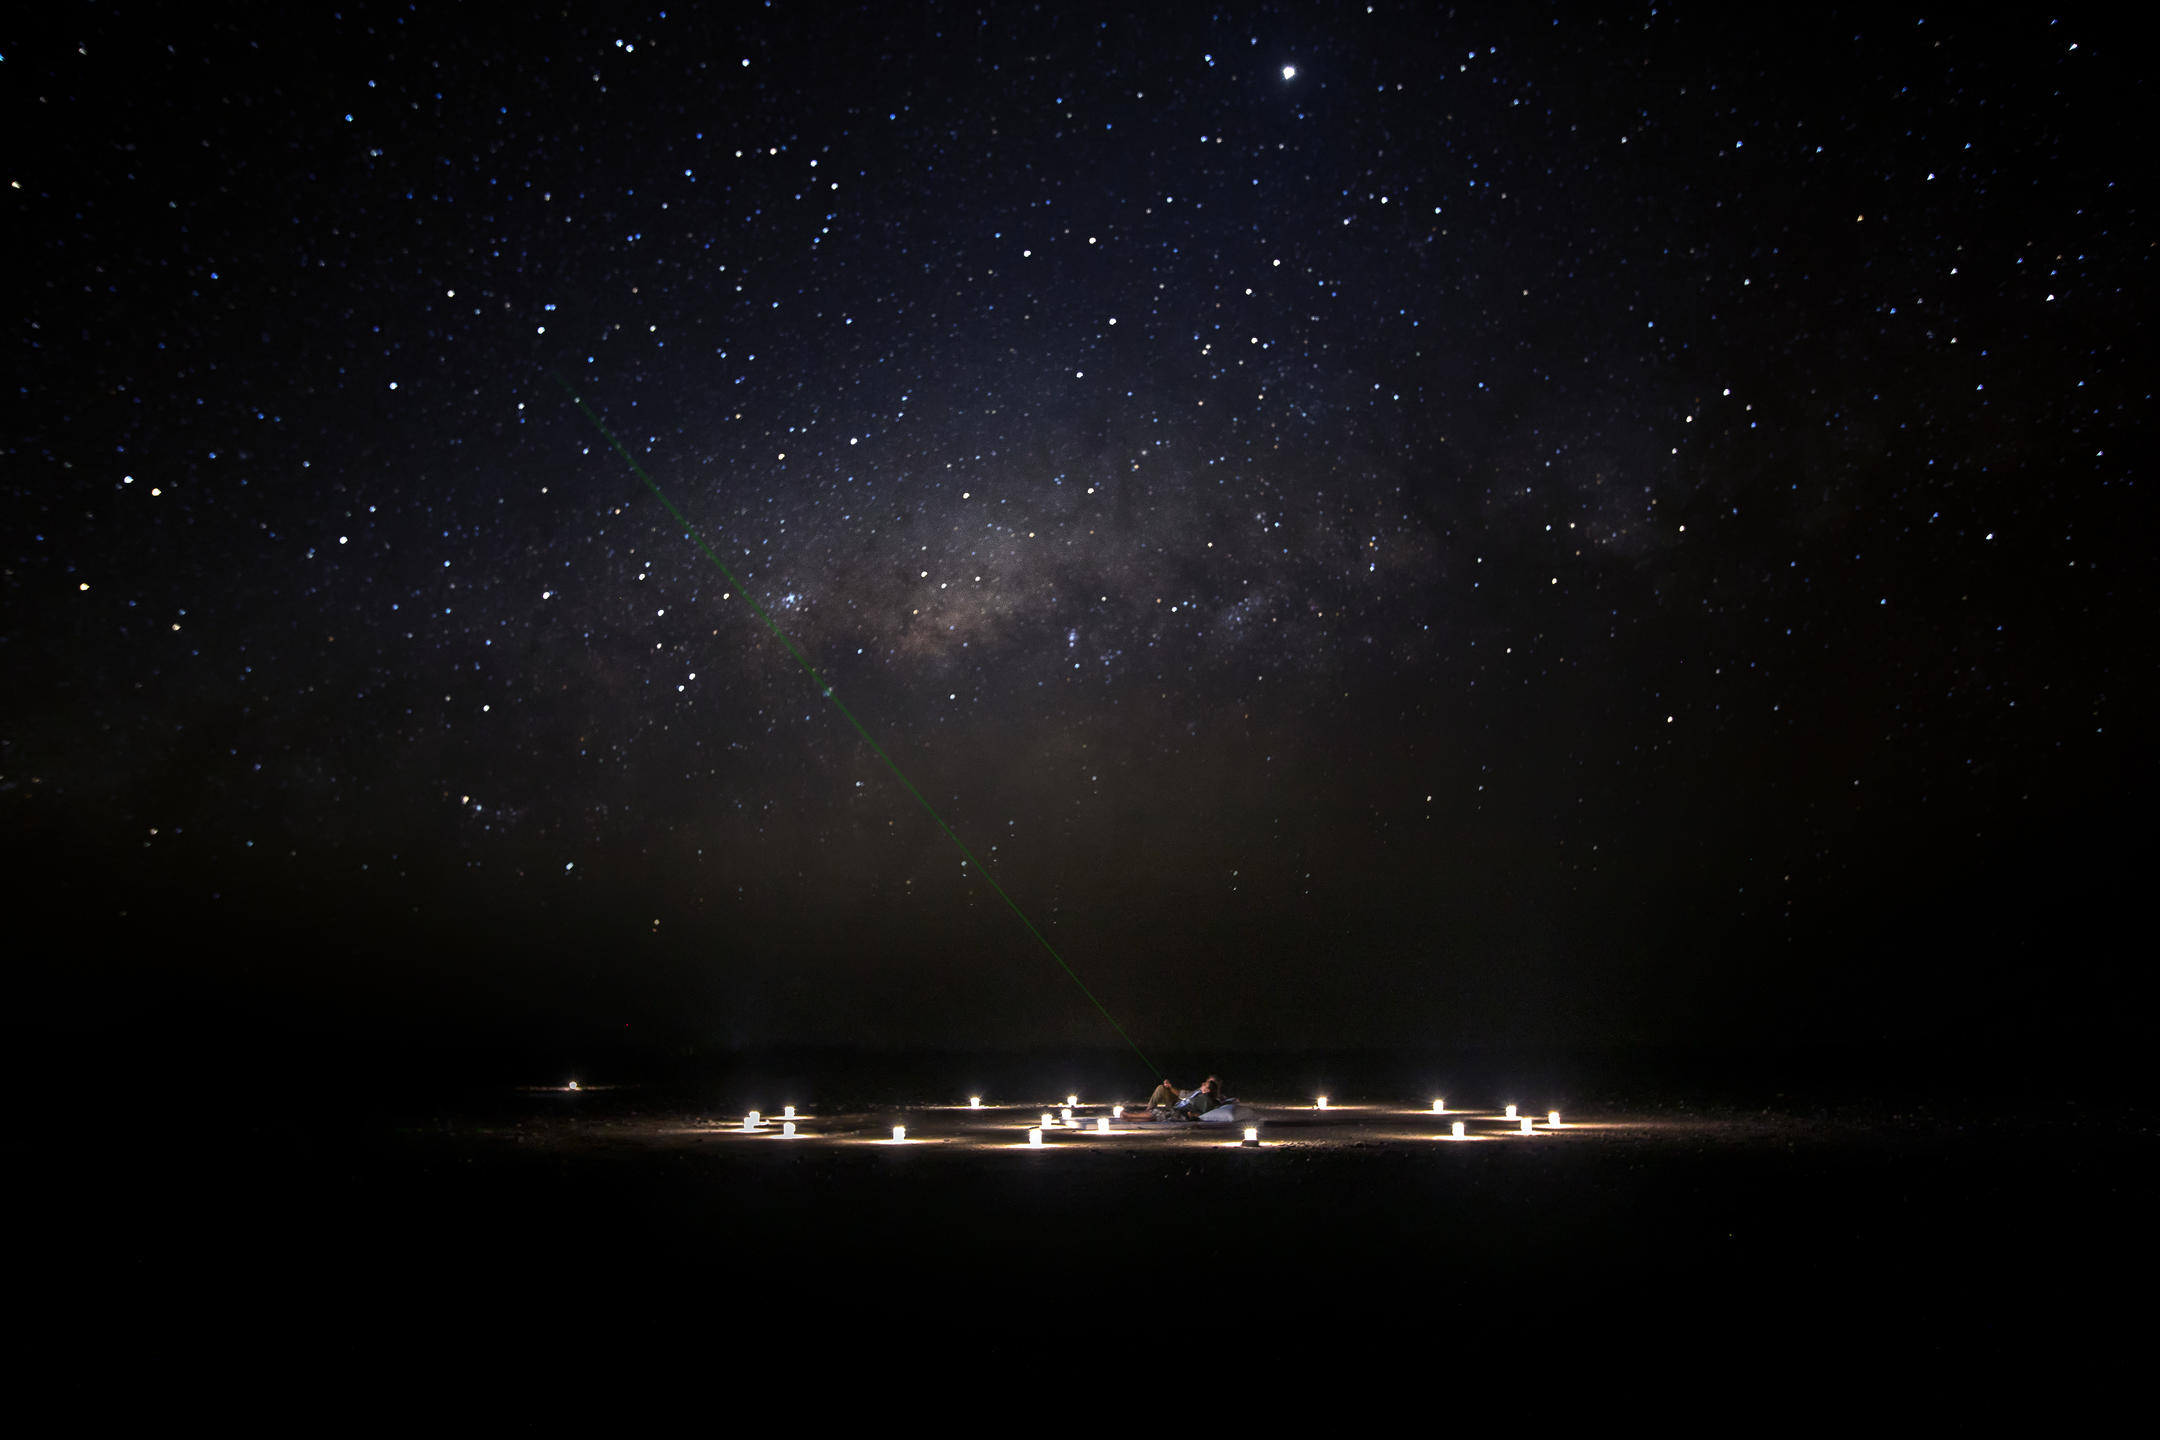
| Milky Way | Tripod, wide lens, widest aperture, 15–25 seconds, ISO 3200 |
| Phone photography | Tap to expose for the bright dune, and avoid digital zoom |
Protecting your camera from sand and heat
- Change lenses inside the car, never in the wind on a dune.
- Carry a sealed bag or rain cover for your camera when you walk.
- Pack a blower and microfibre cloth; don't wipe sand off the lens with your shirt.
- Keep gear out of direct sun in the car, as temperatures rise quickly.
- Bring spare batteries and memory cards, as there is nowhere to buy them nearby.
Night photography under dark skies
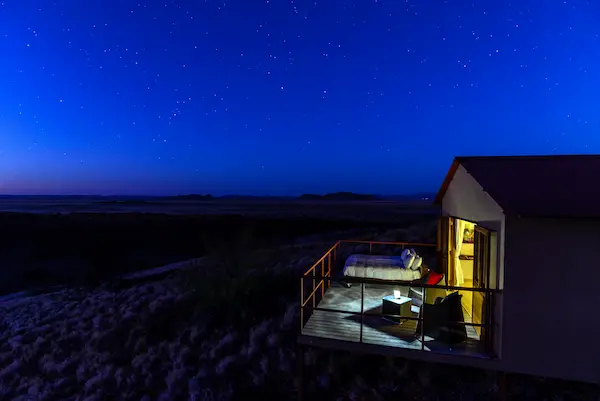
The skies around Sossusvlei and the nearby NamibRand Nature Reserve are among the darkest in the world. On a moonless night, the Milky Way is bright enough to photograph with a basic tripod and a wide lens. Several lodges offer star beds and stargazing sessions, which make perfect foregrounds.
Respect the landscape
- Don't touch or climb the Deadvlei trees. They are hundreds of years old and fragile.
- Stay on paths and don't drive off-road; tracks in the desert last for decades.
- Drones: flying in national parks requires permission, so check the rules before you go.
Plan your photography trip
Two nights near the dunes gives you two sunrises: one for Dune 45 and one for Deadvlei. Add a balloon flight and a starry night for a complete portfolio. Combine it with the best season by reading our guide to the best time to visit Namibia, and explore our Namibia tours.
A 2-day shooting plan
| Session | Where | Why |
|---|---|---|
| Day 1 sunset | Elim Dune or the dunes near Sesriem | Warm side-light and long shadows, close to the gate |
| Night 1 | At your lodge or in the NamibRand | Milky Way and star trails under dark skies |
| Day 2 sunrise | Dune 45 | Silhouettes on the ridge and glowing colour |
| Day 2 morning | Deadvlei | The classic trees-against-red-dune shot, before harsh light |
| Day 2 afternoon | Dune ridges from the road, with a telephoto lens | Abstract lines and patterns as shadows lengthen |
Composition tips
- Use people for scale: a tiny figure on a dune ridge shows how vast the landscape is.
- Follow the ridges: curved dune edges make natural leading lines towards your subject.
- Simplify: at Deadvlei, isolate one tree against the dune and the sky, with nothing else in the frame.
- Shoot both sides: the sunlit side of a dune glows orange, while the shaded side turns deep red or even purple.
- Include wildlife: an oryx on a ridge or a line of footprints adds a story to the image.
Photographing wildlife in the desert
Oryx, springbok and ostriches are often seen on the plains around Sesriem, especially in the early morning. Keep a telephoto lens ready on the drive in, and use the car as a hide: stop slowly, switch off the engine and shoot through the open window. In the heat of the day, look for animals resting in the shade of camelthorn trees, which makes for gentle, natural images.
Shooting with a phone
Modern phones take excellent desert photos. Lock exposure on the bright dune so the colours stay rich, use the main lens rather than digital zoom, and try portrait mode for close-ups of plants and textures. Night mode, with the phone resting on a small tripod or a rock, can capture a surprising number of stars. Bring a power bank, as cold desert nights drain batteries faster.
Back up as you go
Remote desert lodges are no place to lose a day of images. Copy your photos to a laptop, a portable drive or the cloud each evening when you have Wi-Fi, and carry at least two memory cards so a single card failure never costs you the whole trip. Charge everything overnight, as some lodges switch off generators late in the evening.
Finally, put the camera down for a few minutes. Some moments are better remembered than photographed.
The first light touches the top of the dune and runs down its edge like fire. Below, the old trees of Deadvlei wait in the shadow. You press the shutter, and the desert gives you its love story in a single frame.
Frequently asked questions
What is the best time to photograph Deadvlei?
The first couple of hours after sunrise, when the red dune behind the pan is lit but the pan is still in shade, so the dead trees stand out sharply.
What lens should I bring to Sossusvlei?
A wide-angle lens for landscapes and Deadvlei, plus a telephoto zoom for dune ridges and abstract patterns. A polarising filter helps with deep blue skies.
How do I protect my camera from sand?
Change lenses inside the car, carry your camera in a sealed bag, use a blower to remove sand, and keep your gear out of direct sun.
Can you photograph the Milky Way at Sossusvlei?
Yes. The area has some of the darkest skies in the world. Use a tripod, a wide lens at its widest aperture and an exposure of 15 to 25 seconds on a moonless night.
Can I fly a drone at Sossusvlei?
Flying a drone in Namibia's national parks requires permission. Check the current rules and permits before you travel.
Can you photograph the stars at Sossusvlei with a phone?
Yes. Use night mode with the phone resting on a small tripod or a rock, and keep a power bank handy, as cold nights drain batteries quickly.
Plan your photography trip
We'll time your stay for the best light and book lodges close to the dunes.
WhatsApp Us Explore Namibia Tours